Home / User Guide / User Interface Overview
User Interface Overview
Duplicate Files Fixer's welcome window is divided into sections and subsections. From here, you can easily -
1) See the last scan status and scan summary
2) Select scanning mode
3) Drag and drop folders
4) Add Folder
5) Select an area to scan
6) Exclude folder
7) Protect folder
8) Access Settings
9) Scan for Duplicates
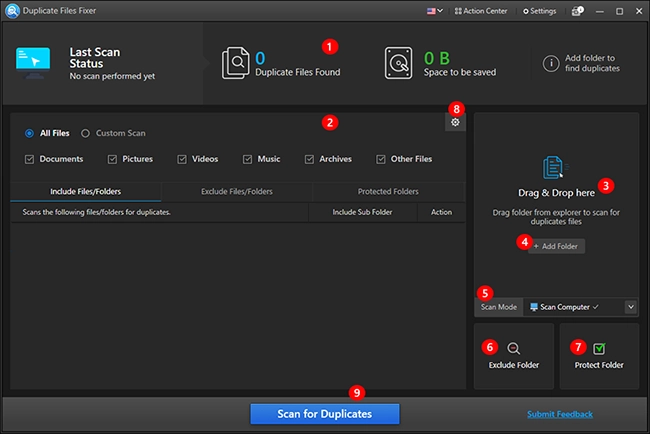
Last scan status and scan summary
This section describes the date and time when the last scan was performed, the number of duplicates found, and the space you can save. By clicking View details, you can go to the scan result window.

Scanning mode
Duplicate Files Fixer gives you two options to scan for duplicates.
All Files - one-click scanning to identify all types of duplicate files.

Custom Scan - gives you the option to select specific file types to scan.

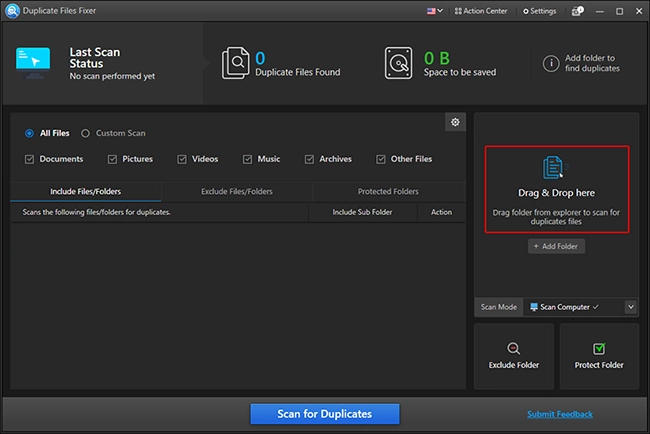
Drag and Drop
Simply drag and drop the folder from File Explorer to scan for duplicates.
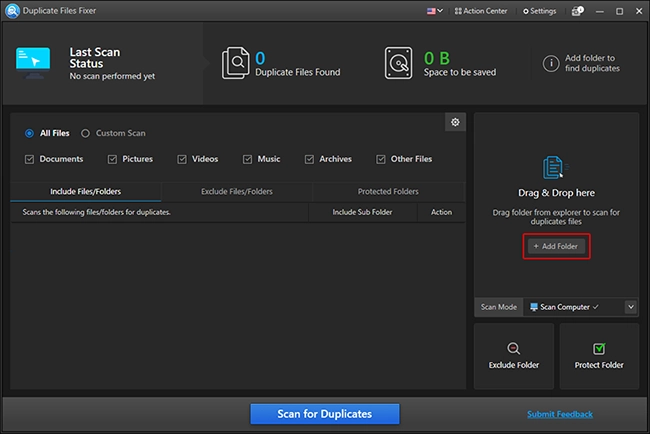
Add Folder
Add folders of your choice and scan for duplicates.
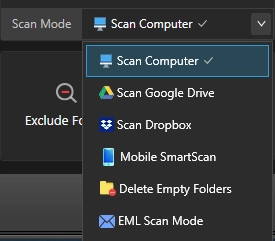
Scan Mode
Duplicate Files Fixer, alongside scanning folders saved on the internal drive, allows scanning Google Drive and Dropbox. Moreover, you can scan connected smartphones, scan for empty folders and duplicate emails.
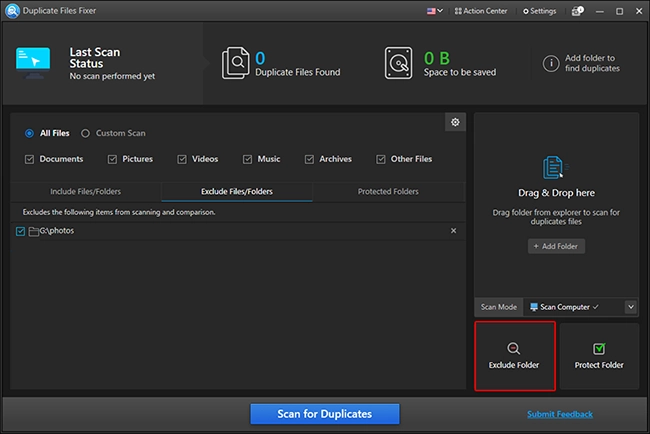
Exclude folder
To exclude a folder from scanning, click Exclude Folder > add the folder. Duplicate Files Fixer will not scan that folder.
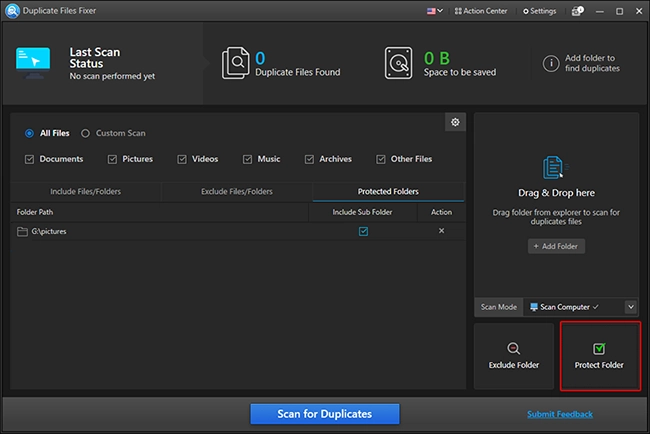
Protect folder
This option helps avoid selecting and removing any files saved in the protected folder.
Settings
Clicking on the cog icon opens the settings window. You can set the minimum and maximum file sizes to include and exclude file types to be scanned.
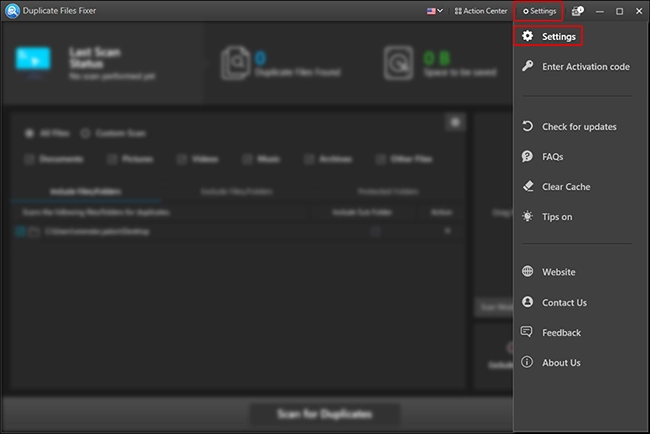
To customize other settings, click the Settings option at the top right of the home screen of Duplicate Files Fixer and click Settings.
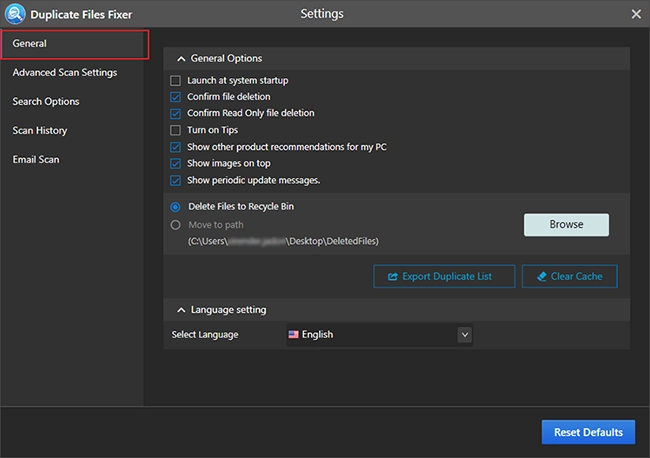
Settings are further divided into five subsections. Clicking on each section gives various options, allowing you to customize the product's functioning.
General
This setting allows you to decide whether or not to launch the product at startup, get a confirmation message before deleting selected duplicates, confirm read-only file removal, enable or disable tips, receive other product recommendations, see images on top, get messages about product updates,move deleted files to Recycle Bin or to a location of your choice, export list of duplicate files detected, clear cache and change product language.
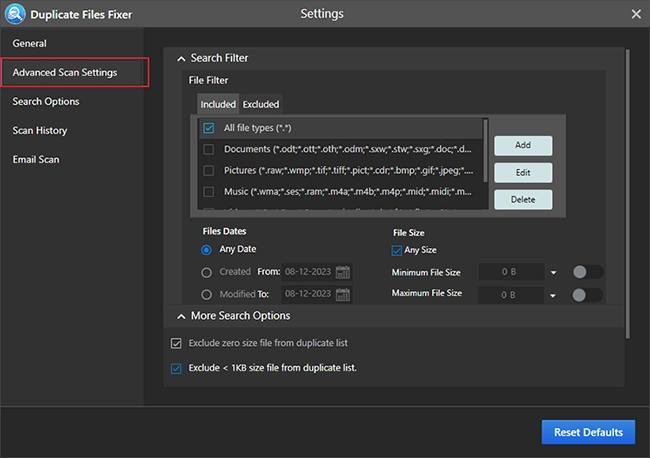
Advanced Scan Settings
You can include or exclude file types from scanning and select scanning criteria.
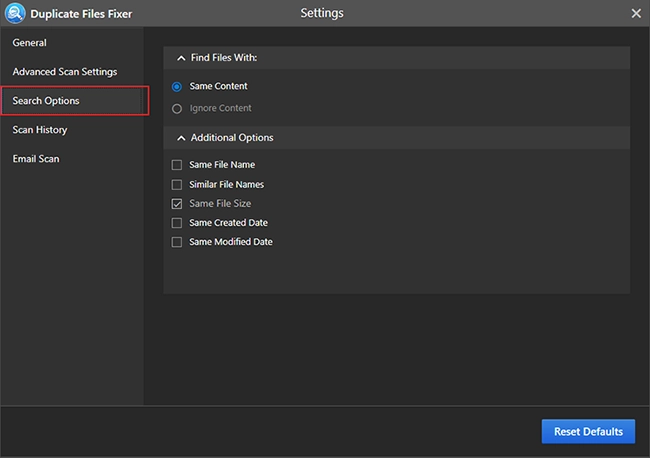
Search Options
Decide the criteria based on which the files should be detected as duplicates, whether with the same content, file name, file size, creation date, modified date, or similar file names.
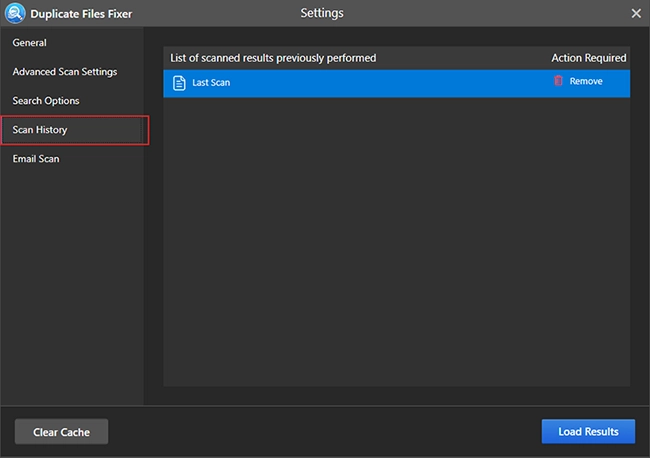
Scan History
See the scan results for the last scans performed. Select the scan you want to restore and click on Load Results.
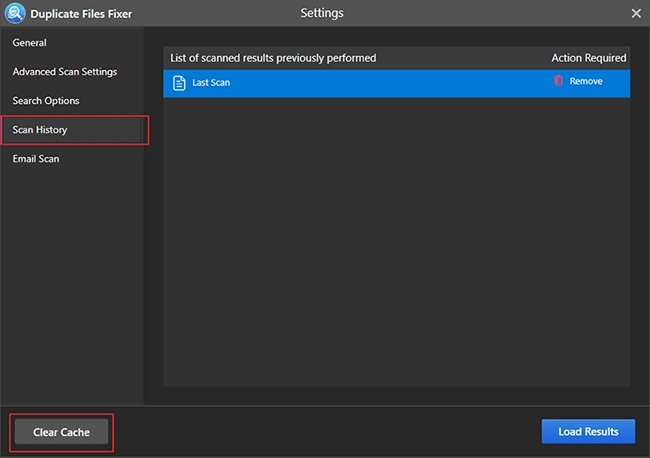
Clear Cache
This button helps to remove the cache of previous scans saved by Duplicate Files Fixer.
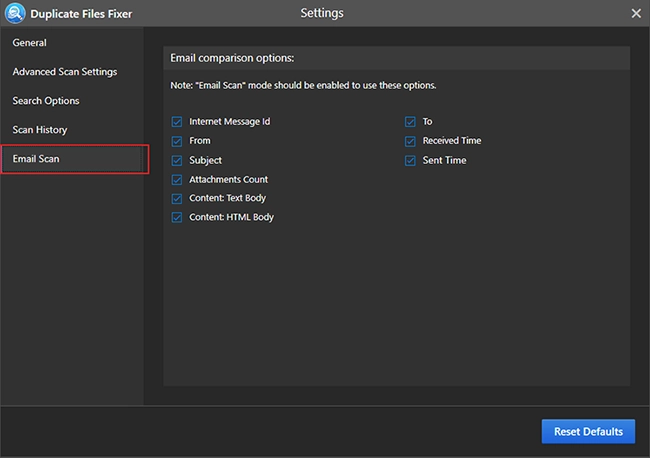
Email Scan
If emails are your primary mode of communication, there are chances that you have duplicate emails saved on your PC. From here, you can set the settings to scan for duplicate emails.
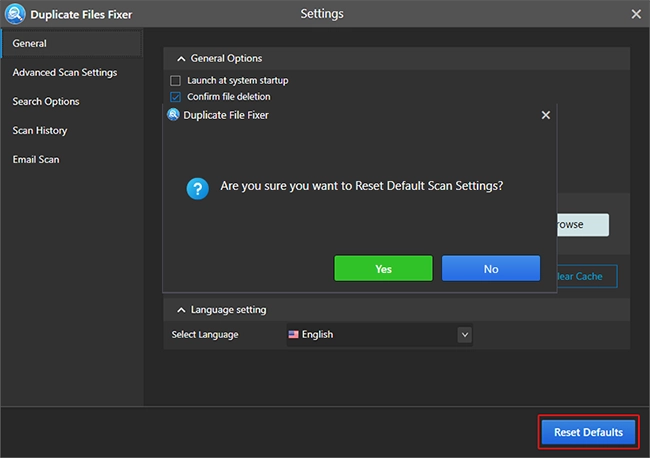
Reset Defaults:
This button helps restore settings to default.
Scan for Duplicates
Once scanning mode, area to scan, folder to scan, and settings are customized, you can perform the scan by clicking the Scan for Duplicates button.
Other Options
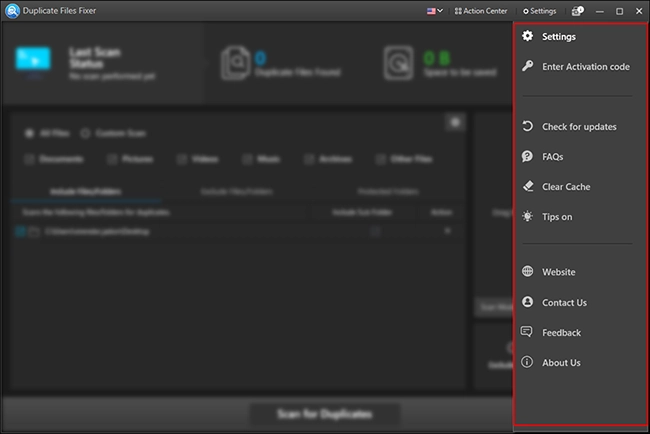
Enter Activation Code -Click here to enter the license key and activate the product.
Check for updates -Get the latest software update if you have an active internet connection.
FAQs -Redirects to the FAQ page.
Clear Cache -This option helps clear scan results and refreshes the application.
Tips on - Enables the digital guide that shows you your way around the product.
Website - Redirects to the product's webpage.
Contact Us - Redirects you to the support page to submit a query. You can also send an email to support@systweak.com
Feedback - Share your experience with the product and what you like or dislike about it.
About Us - Get information about the developer, privacy policy & uninstalling the product.