Home / User Guide / Removing Specific Duplicate Files from PC
Removing Specific Duplicate Files from PC
1. Launch Duplicate Files Fixer.
2.. Select the radio button next to Custom Scan.
3. Select the file type to scan.
4. Select Scan Computer under Scan Mode
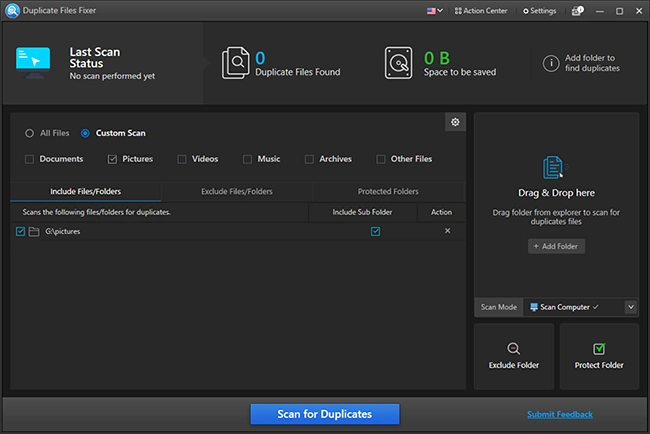
5. Drag and drop the folder to scan or click Add Folder.
6. Hit Scan for Duplicates to detect duplicates.
7. Wait for the scan to finish.
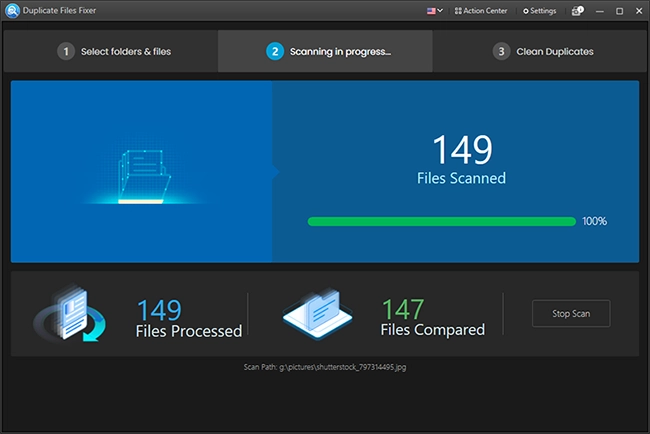
8. Select duplicate using either option - Select Manually or Auto Mark. Preview files before deleting duplicates.
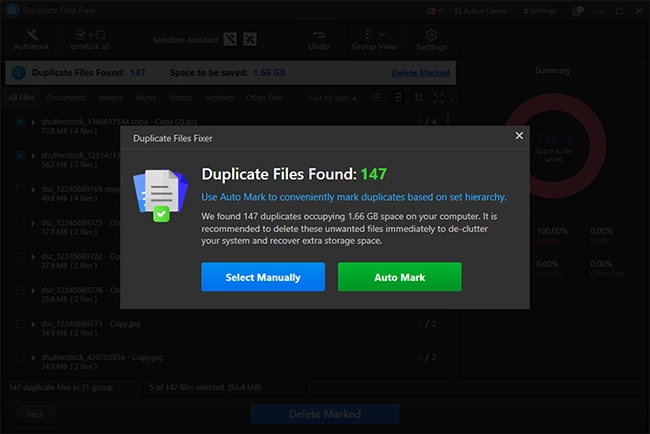
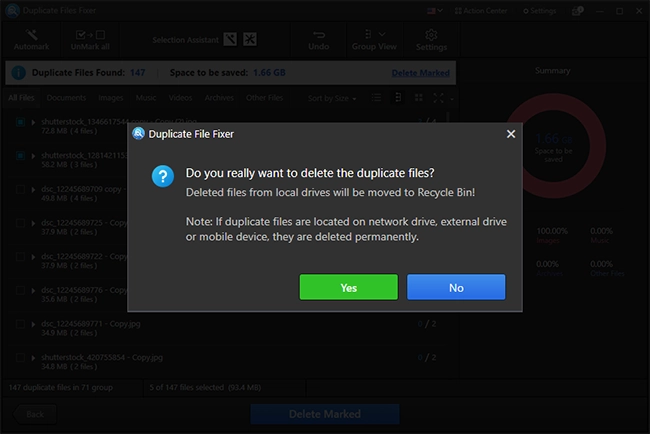
9. Click Delete Marked.
10. Confirm the action by clicking Yes.
11. Wait for the process to finish.
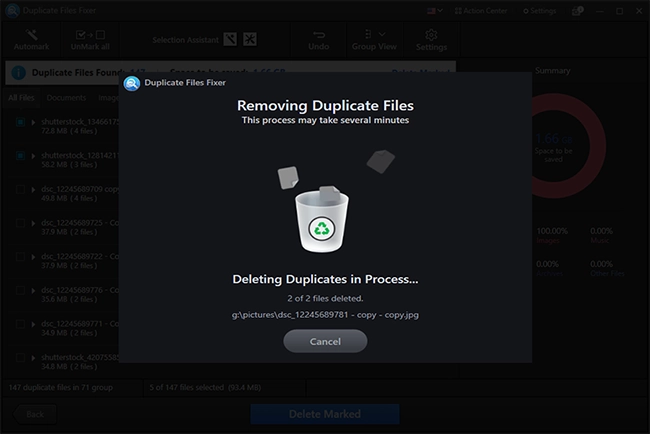
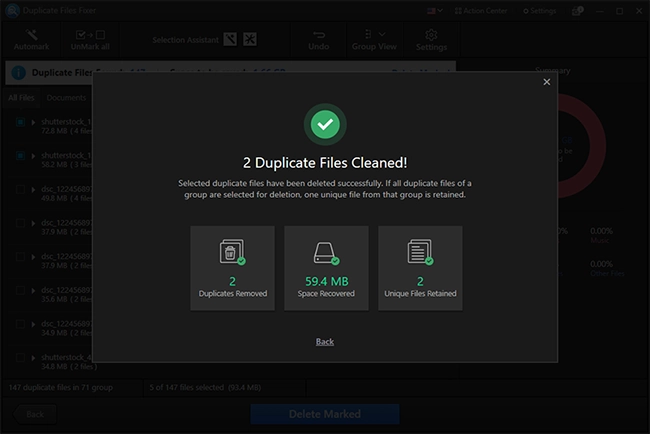
12. Once done, you will get a summary of the action performed.
When the scan is complete, you will get two options - auto-mark duplicates or select them manually.
13. You can clean duplicates and reclaim storage space on your PC.